
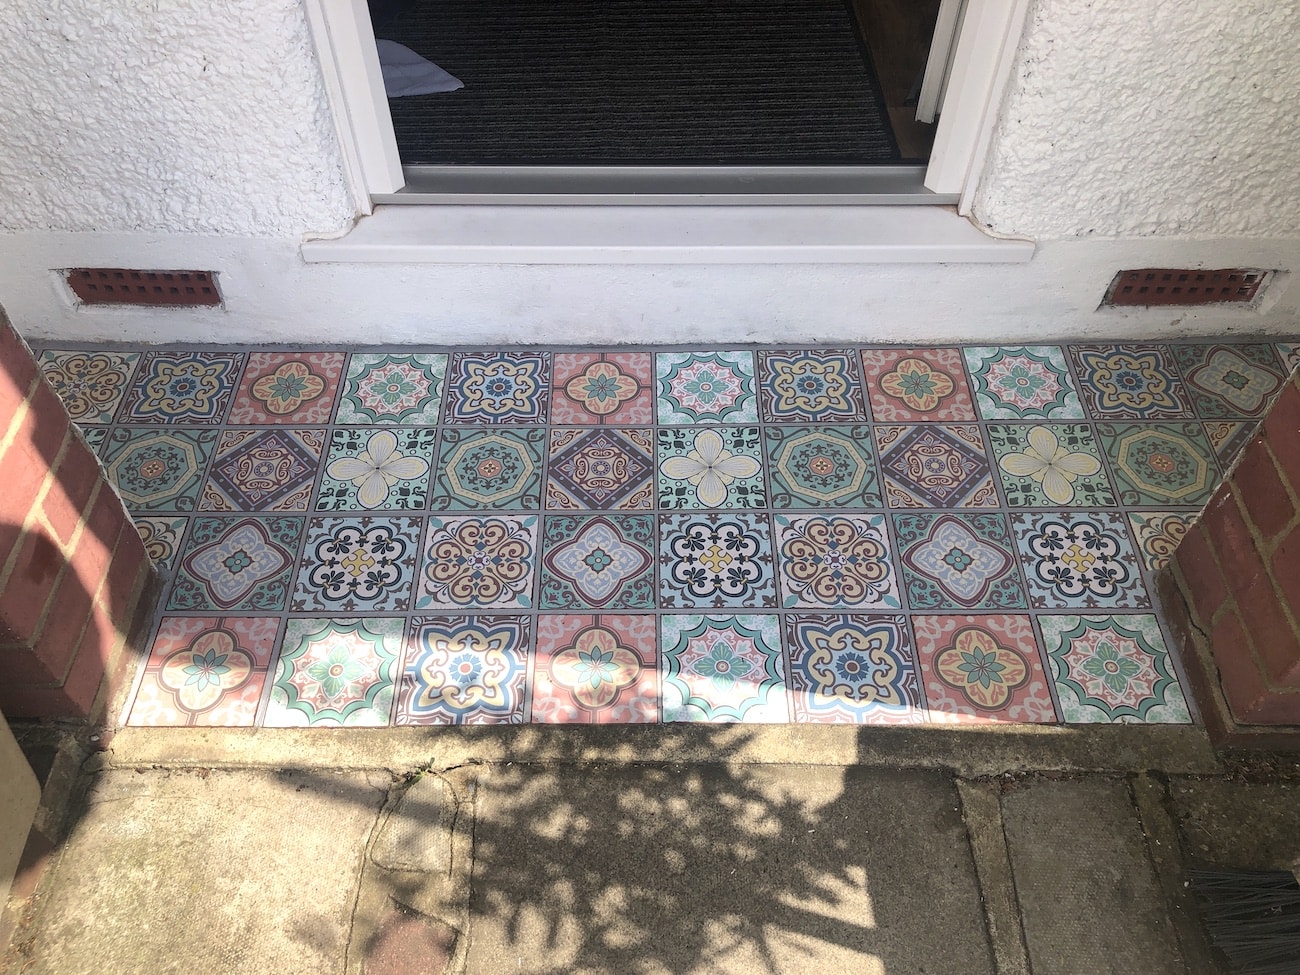
They say first impressions count and over the years VIP and I have tried our best to make the front of our home presentable.
We’ve kept the grass cut, we’ve grown rows of lavender plants, hung flowing baskets and put out olive trees either side of our front door. We’ve even painted our pebble-dashed house white (rendering was too expensive!), which was no easy feat.
But there was just one thing that didn’t fit into our new and improved exterior – the terracotta tiles in our porch. Tiles are lovely, don’t get me wrong, and they wouldn’t have looked out of place had we lived in the Mediterranean. But in our Kentish home, inspired by the beautiful countryside on our doorstep, we’d opted for pastel shades and subtle hues – the dominant terracotta had to go.
A novel idea
We thought long and hard about what we could do – paint the tiles a nice pastel pink? Good idea but a bit boring. Smash them up and lay new ones? Very messy and would cost quite a bit. Cover them with a large doormat? The obvious choice but we couldn’t find one big enough anyway.
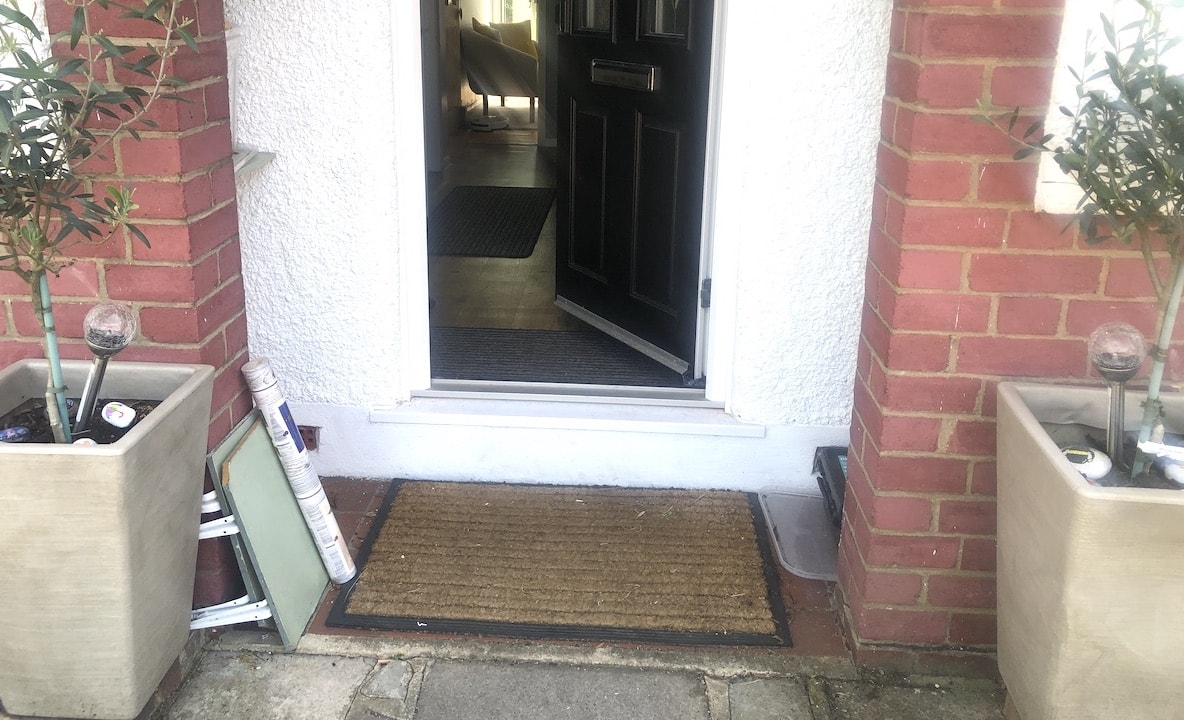
The old porch needed an update!
And then one day I was browsing the web as you do and I came across adhesive stickers – you can order them in any size and pretty much any pattern (and colour) – and they actually look like real tiles! Plus the great thing is, they cost a fraction of the price of real ones.
So we set our sights on finding sticker tiles to pimp up our porch and when I saw these colourful patterned ones on Amazon – I knew that’s what I wanted.
The prep
First things first, we needed to give the tiles a good old scrub and then paint them a couple of coats of subtle grey exterior paint. This was to ensure the strong terracotta colour didn’t show through in case there were any gaps.
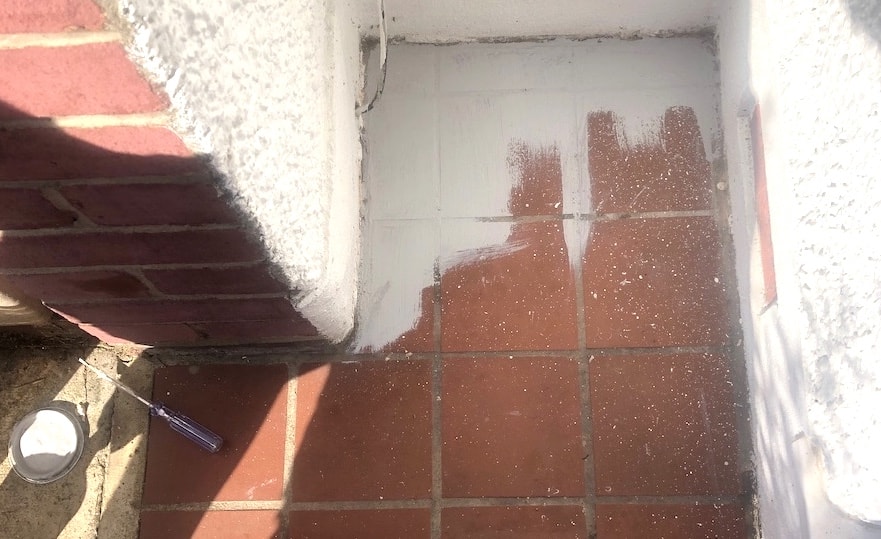
First we painted the tiles…
Next came the layout and this was best done on our dining room table so that we could lay contrasting colours next to each other and not have any repeating patterns next to each other. We counted the tiles outdoors and set about organising the layout on the table.
Once I’d arranged it how I liked it, VIP took pictures on his phone so that he could copy the pattern when it came to sticking them down. He has more patience than me when it comes to lining them up, so I let him take over this part.
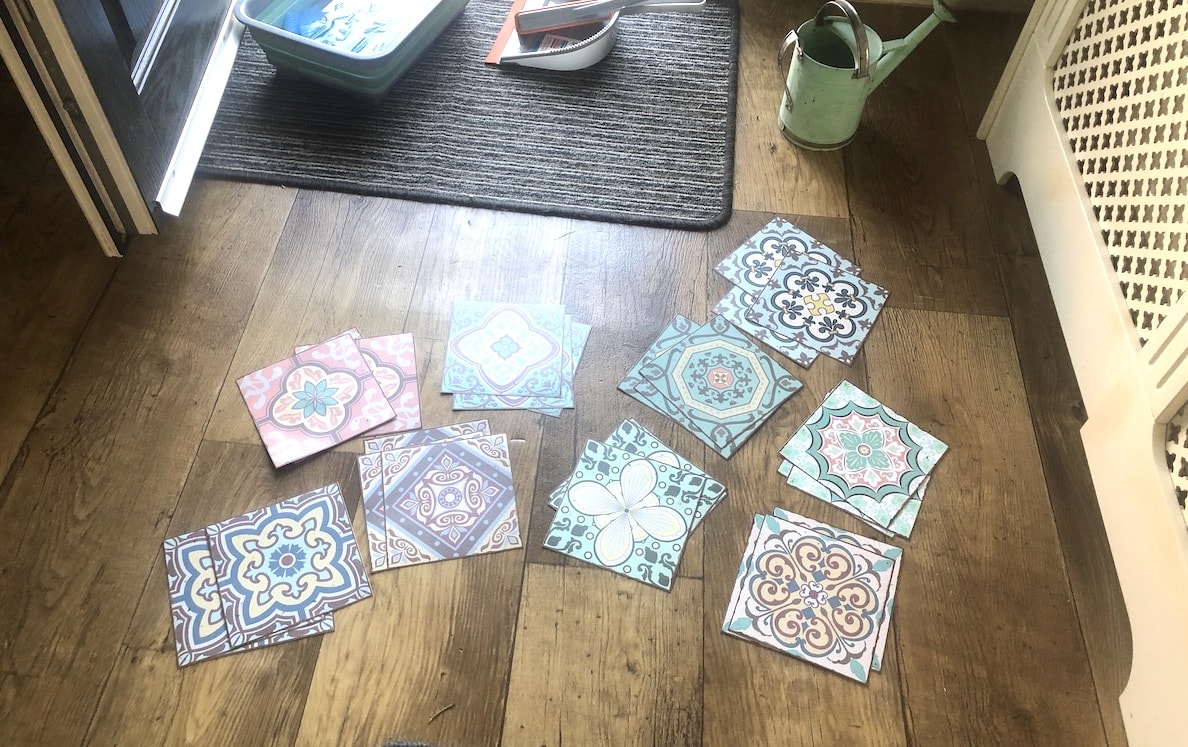
Working out a pattern for the new tiles
Top tip: Choose a non-windy, sunny day to stick down your tiles!
The wind was up a little when VIP came to stick down the tile stickers, so try to opt for a day when it’s quite still and there’s no chance of rain. It was really easy to apply the stickers – you simply peel the backing off and stick them down, making sure they are lined up and centered. Within an hour, VIP had transformed the porch from dull and boring to vibrant and interesting – I loved them!
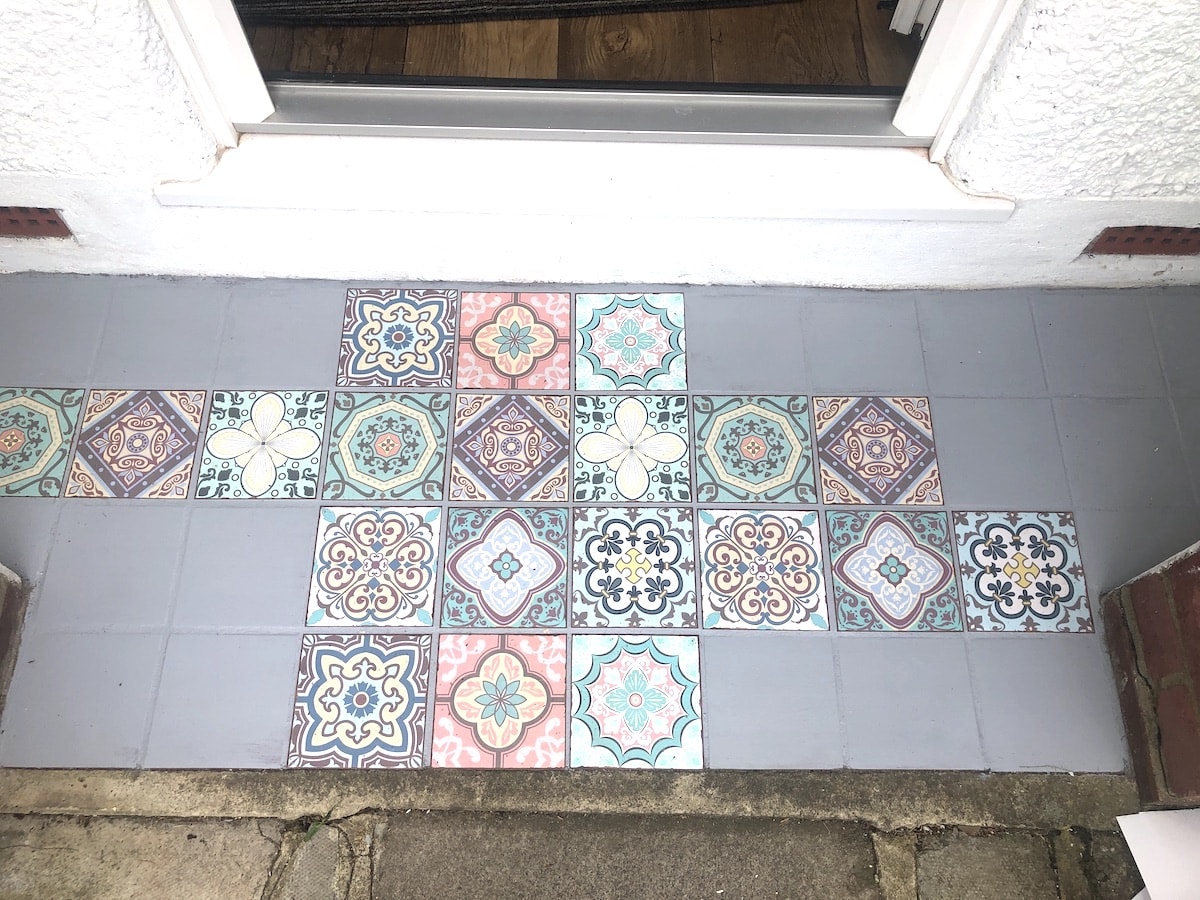
Planning where the tiles would go!
The aftercare
We were a bit worried about the stickers peeling up, so we decided that now would be a good idea to apply a couple of coats of varnish (and hope that the postman didn’t decide to deliver our post once we left it to dry!) This was a very wise move – as it has meant that three months later, the stickers haven’t raised and are still looking as good as ever.
Again, this is why it’s better to choose a sunny day to allow the varnish to dry quickly. If you can manage three coats of varnish – even better, but apply at least two coats.
You can check out a huge range of Mediterranean-style stickers
So it’s been a few months since we laid the stickers and so far we’ve had nothing but compliments about them. And would you believe that every single person who has commented has been surprised to learn that they’re just stickers! They have honestly believed they were real tiles which has been a real plus point.
It just goes to show – a little imagination and without spending a fortune, you can fool others into thinking you’ve had your whole porch redone – all for less cost than a decent pair of trainers! And it has been worth every penny!
What do you think of the tiles – and what’s on your interior/exterior to-do list?
You might also like…
A Pin For Your Interiors Board


5 comments
Absolutely loving those tiles! I would never have guessed they were stickers 😀
Nikki – Notes of Life recently posted…Supporting Small Businesses: Fiddlers Elbow, Leintwardine
That looks amazing!!!! Such a simple idea but they’ve worked so well. Lovely and welcoming
Ah thank you – it’s certainly much brighter and friendlier too I think. Now it’s just a question of keeping them clean – wish me luck! x
I love how those tiles look! That eclectic mix of patterns looks so good. You did a great job
Ah thanks Kerry – it was relatively easy and such a huge improvement. I didn’t even know you could get stick-on tiles …we learn something new every day eh?!